Before the dashboard can be used, the the updated CAS server configuration files must be installed.
Install and test on the master build server
Use the scripts created earlier (or repeat the commands) to install the updated CAS configuration files on the master build server (casdev-master):
casdev-master# sh /opt/scripts/cassrv-tarball.sh
casdev-master# sh /opt/scripts/cassrv-install.sh
---Installing on casdev-master.newschool.edu
Installation complete.
casdev-master#
Review the contents of the log files (/var/log/tomcat/catalina.yyyy-mm-dd.out and /var/log/cas/cas.log) for errors.
Install on the CAS servers
Once everything is running correctly on the master build server, it can be copied to the CAS servers using the scripts created earlier:
casdev-master# sh /opt/scripts/cassrv-tarball.sh
casdev-master# for host in srv01 srv02 srv03
> do
> scp -p /tmp/cassrv-files.tgz casdev-${host}:/tmp/cassrv-files.tgz
> scp -p /opt/scripts/cassrv-install.sh casdev-${host}:/tmp/cassrv-install.sh
> ssh casdev-${host} sh /tmp/cassrv-install.sh
> done
casdev-master#
Shut down all but one of the pool servers
Operating CAS with a pool of servers instead of a single server requires special configuration. Because that configuration hasn’t been completed yet, testing must be performed against a single server. Therefore, the other servers in the pool should be shut down so that the load balancer will direct all traffic to that single server. Run the command
# systemctl stop tomcat
on all but one of the CAS servers (casdev-srvXX) to temporarily take those servers out of the pool.
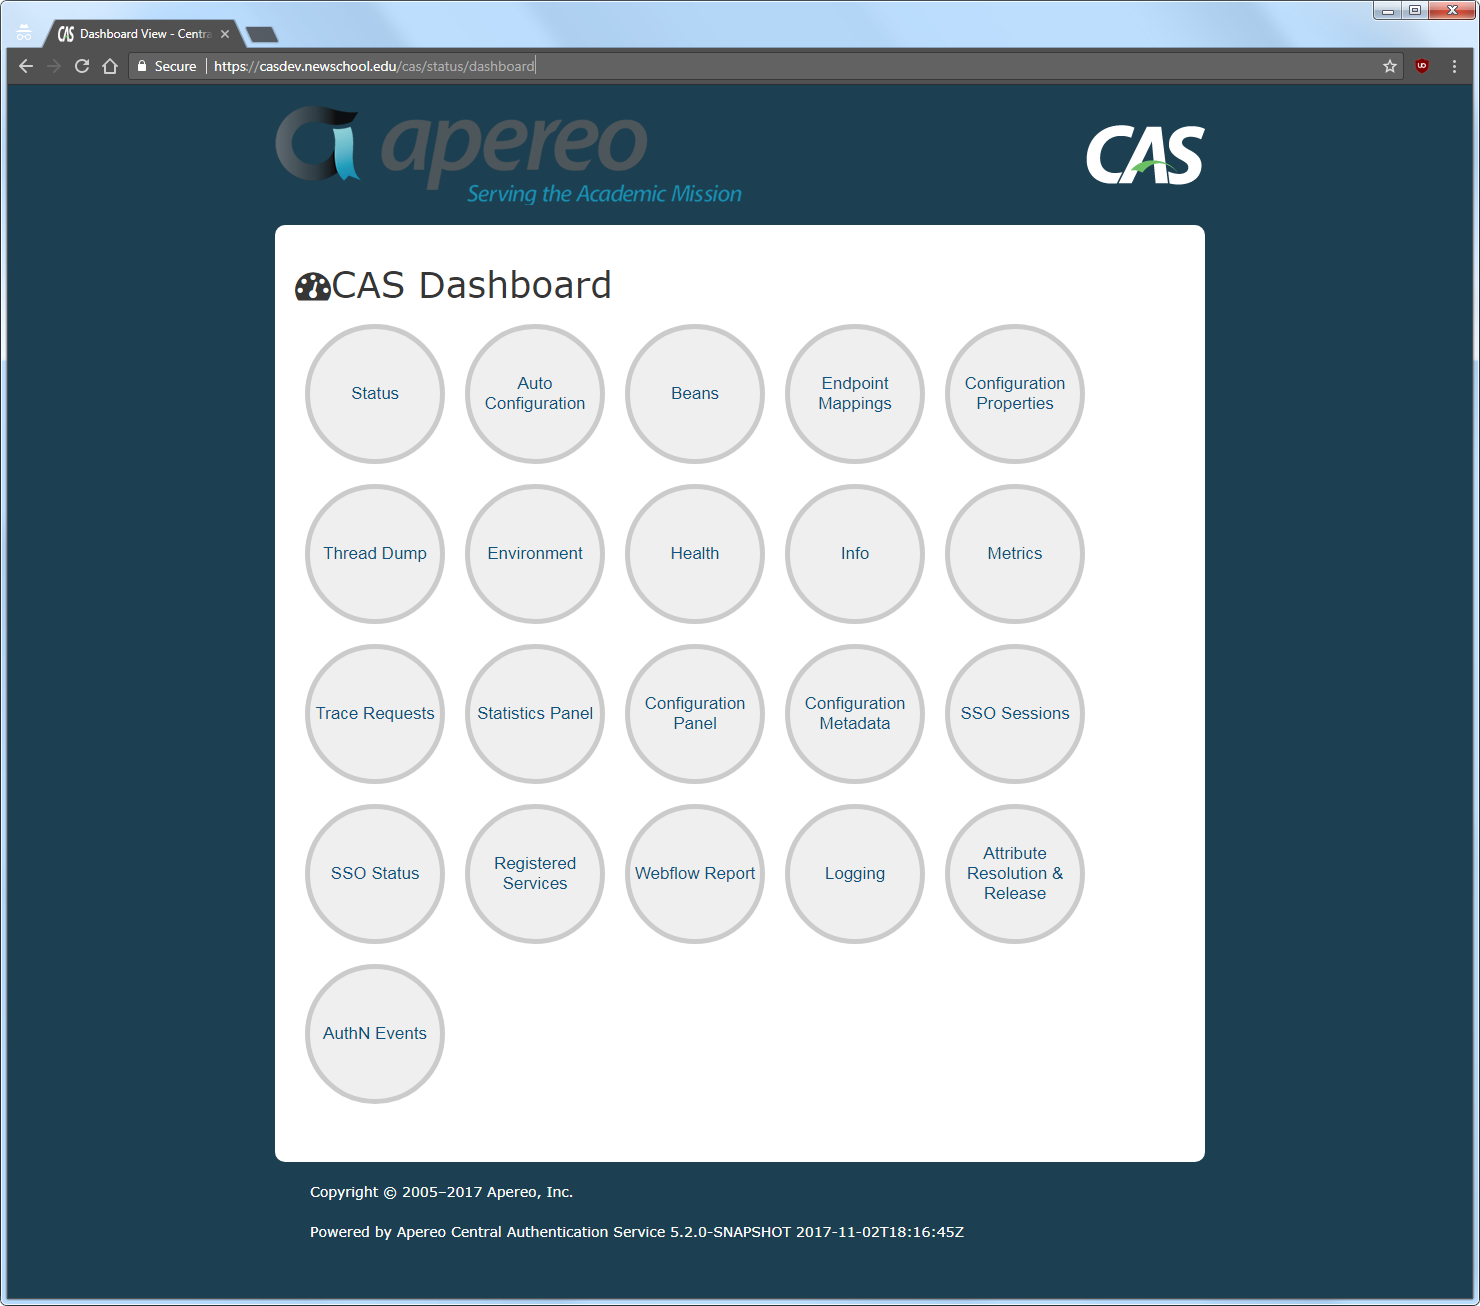
Access the dashboard
Open up a web browser (in “incognito” or “private browsing” mode) and enter the URL of the dashboard:
https://casdev.newschool.edu/cas/status/dashboard
The dashboard should be displayed, as shown previously in Figure 21:

Click on the various circles on the dashboard to see their contents.
Restart the pool servers
One testing is complete, run the command
# systemctl start tomcat
on each of the pool servers shut down previously.
