Before attribute resolution and release can be used, the rebuilt CAS application and the updated configuration files must be installed. Then everything can be tested by accessing the “public” part of the client application web site and then clicking on the link to the “secure” section. At that point, the browser should be redirected to the CAS server, where upon successful authentication the secure content, including the values of the attributes, will be displayed.
Because both the load balancer and the CAS server use cookies, it’s usually best to perform testing with an “incognito” or “private browsing” instance of the web browser that deletes all cookies each time it is closed.
Install and test on the master build server
Use the scripts created earlier (or repeat the commands) to install the updated CAS application and configuration files on the master build server (casdev-master):
casdev-master# sh /opt/scripts/cassrv-tarball.sh
casdev-master# sh /opt/scripts/cassrv-install.sh
---Installing on casdev-master.newschool.edu
Installation complete.
casdev-master#
Review the contents of the log files (/var/log/tomcat/catalina.yyyy-mm-dd.out and /var/log/cas/cas.log) for errors.
Install on the CAS servers
Once everything is running correctly on the master build server, it can be copied to the CAS servers using the scripts created earlier:
casdev-master# sh /opt/scripts/cassrv-tarball.sh
casdev-master# for host in srv01 srv02 srv03
> do
> scp -p /tmp/cassrv-files.tgz casdev-${host}:/tmp/cassrv-files.tgz
> scp -p /opt/scripts/cassrv-install.sh casdev-${host}:/tmp/cassrv-install.sh
> ssh casdev-${host} sh /tmp/cassrv-install.sh
> done
casdev-master#
Shut down all but one of the pool servers
Operating CAS with a pool of servers instead of a single server requires special configuration. Because that configuration hasn’t been completed yet, testing must be performed against a single server. Therefore, the other servers in the pool should be shut down so that the load balancer will direct all traffic to that single server. Run the command
# systemctl stop tomcat
on all but one of the CAS servers (casdev-srvXX) to temporarily take those servers out of the pool.
Access the public site
Open up a web browser (in “incognito” or “private browsing” mode) and enter the URL of the CAS-enabled web site:
https://casdev-casapp.newschool.edu/
The contents of /var/www/html/index.php should be displayed, looking something like this:
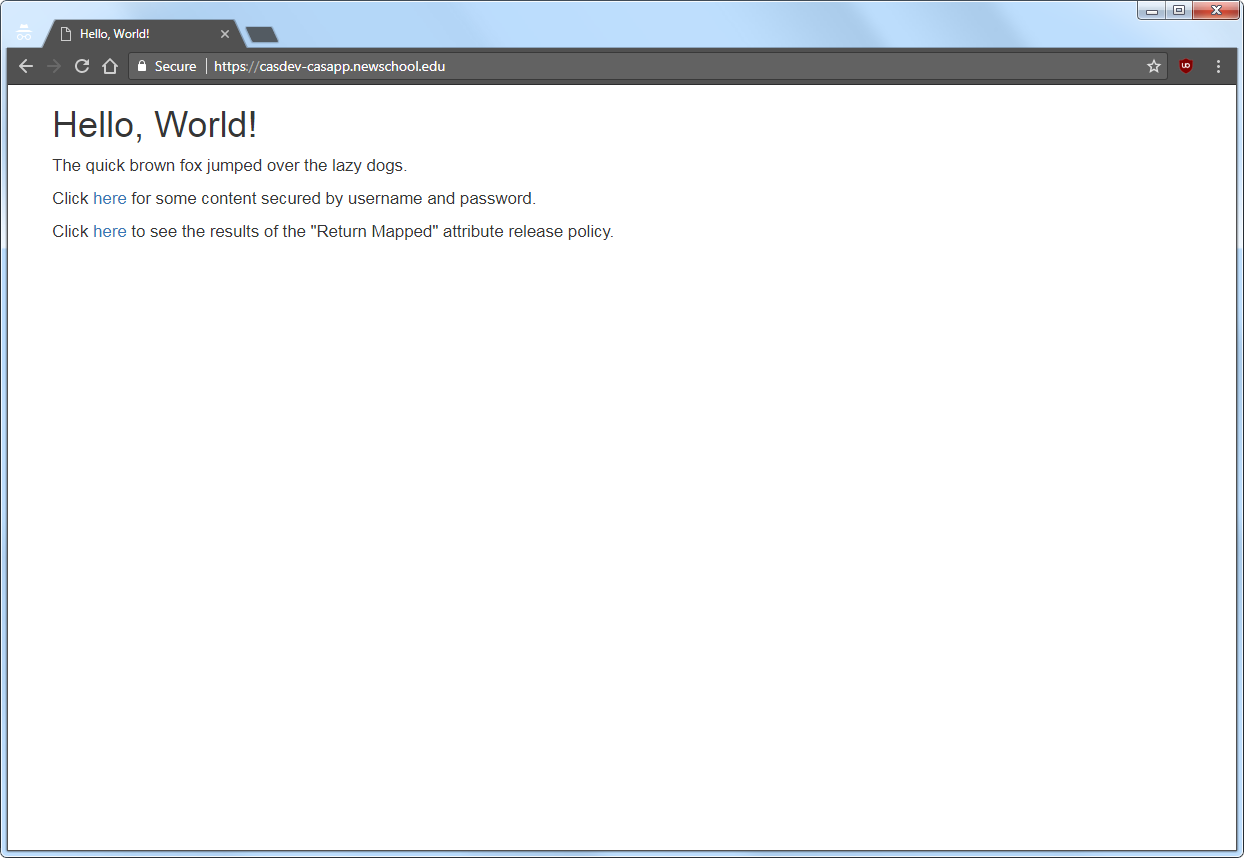
Access the “return all attributes” secure area
Click on the first “here” link to access the “release all attributes” secure content, and you will be redirected to the CAS server login page, as shown below:
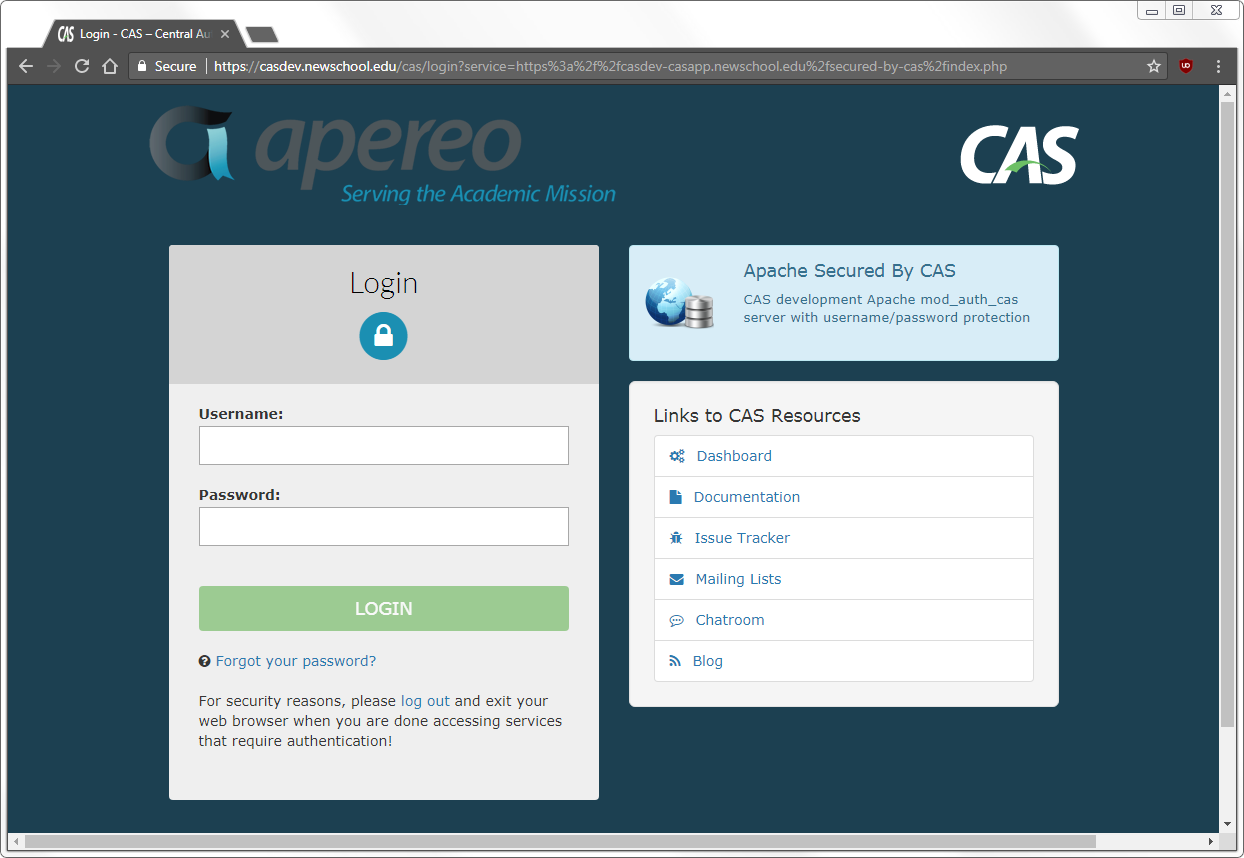
Note that the contents of the name field from the service registry are displayed at the top of the right-hand column; make sure that Apache Secured by CAS is displayed here and not HTTPS and IMAPS wildcard. Enter a valid username and password (Active Directory or LDAP) and, upon successful authentication, the contents of /var/www/html/secured-by-cas/index.php will be displayed:
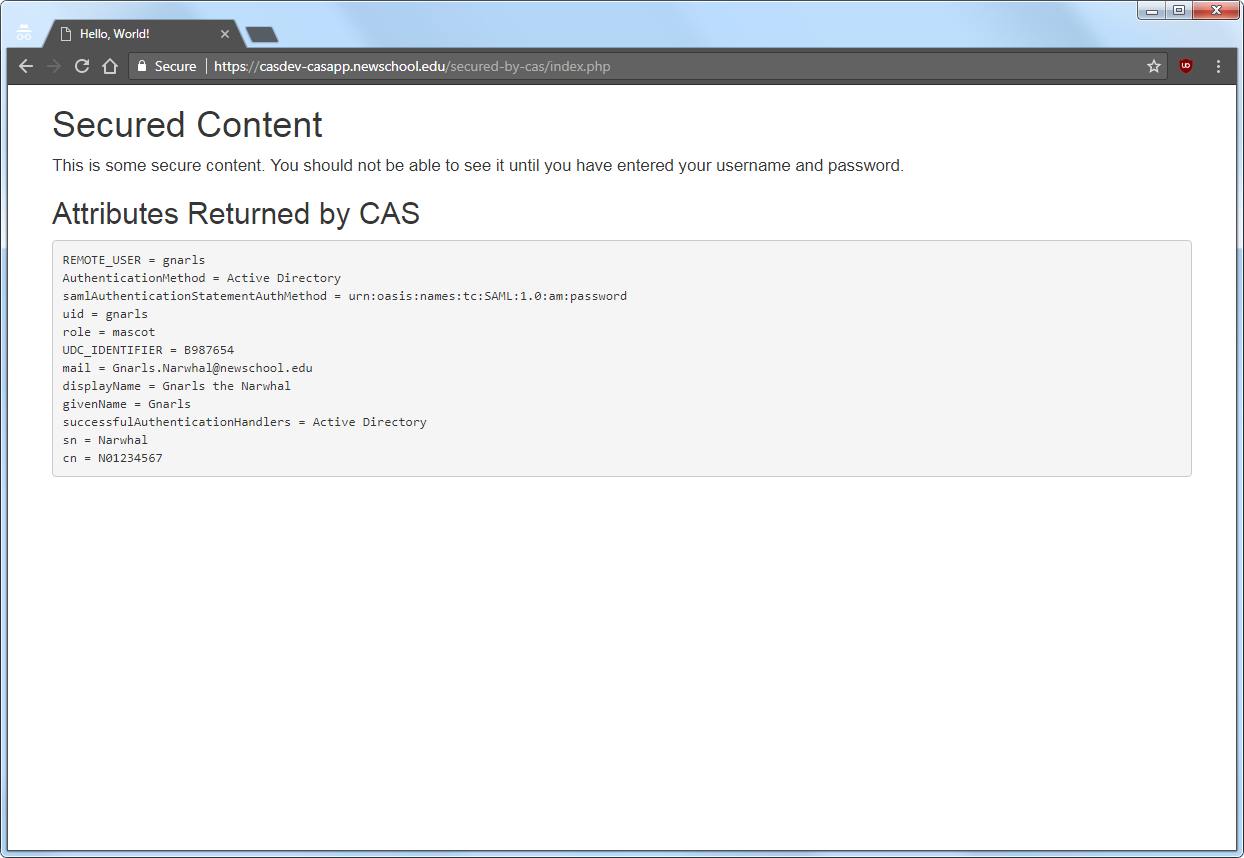
Note that the value shown for the REMOTE_USER variable is the username that was entered on the CAS login page (gnarls), and that the attributes configured for release are all shown, along with some additional values provided as part of the SAML 1.1 response from the CAS server.
Access the “return mapped attributes” secure area
Click the “back” button in the browser a couple of times (or start up a new one in “incognito” or “private browsing” mode) to get back to the “public” page shown in Figure 10, and then click on the second “here” link to access the “return mapped attributes” secure area, which will display the contents of /var/www/html/return-mapped/index.php:
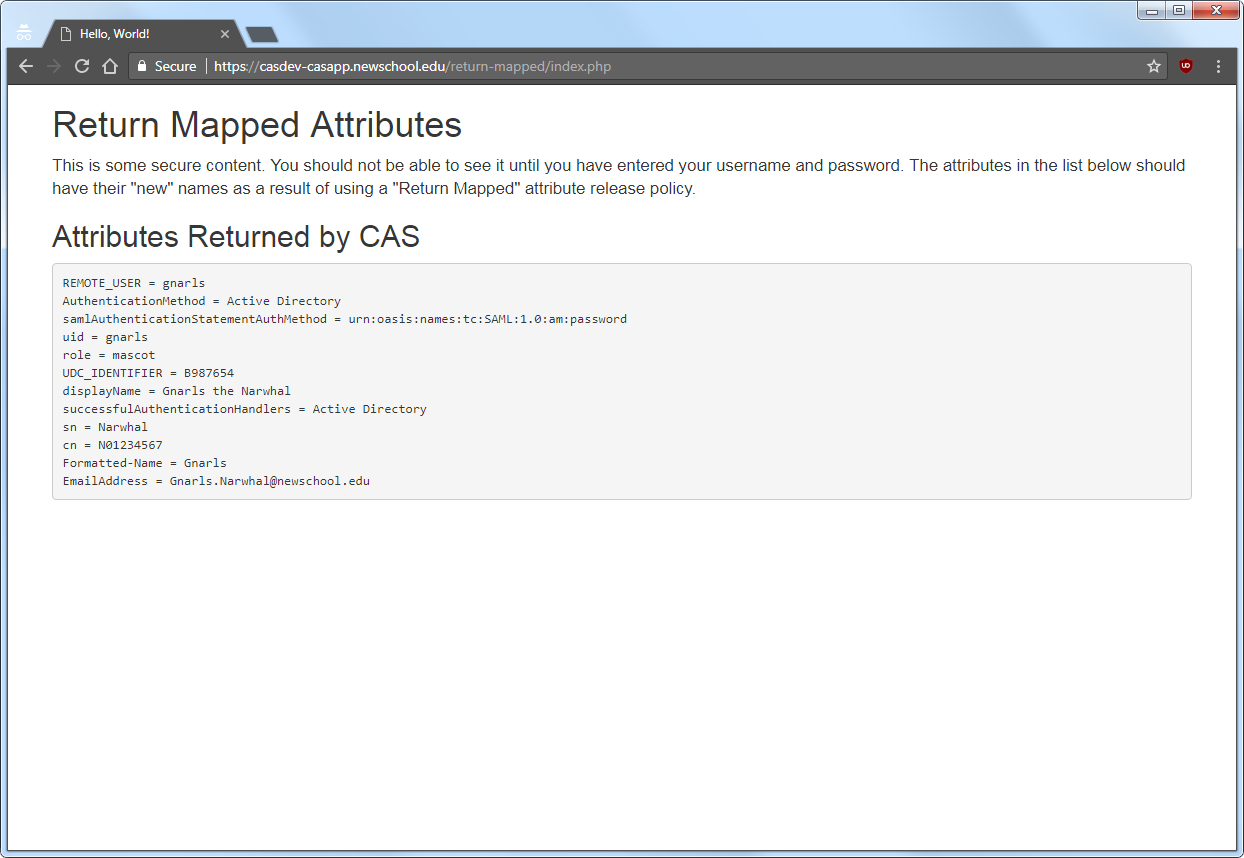
Note that the mail and givenName attributes have been replaced with EmailAddress and Formatted-Name (spaces in attributed names are not allowed, so a ‘-‘ is inserted), but the values of the attributes are the same.
Restart the pool servers
One testing is complete, run the command
# systemctl start tomcat
on each of the pool servers shut down previously.