To deploy the CAS application, we have to copy the application we just built with Maven into Tomcat’s webapps directory and we have to copy the contents of the etc/cas directory to /etc/cas.
Create a distribution tar file
As explained in the section on hardening the Tomcat installation, web applications should be deployed as exploded directories rather than as WAR files, all files should be owned by user root and group tomcat, and file permissions should be set to owner read/write, group read only, and world none. To make it easier to accomplish all that, we will assemble everything into a single tar archive that can be copied to each CAS server and extracted. Run the commands
casdev-master# cd /opt/workspace/cas-overlay-template
casdev-master# tar czf /tmp/cassrv-files.tgz --owner=root --group=tomcat --mode=g-w,o-rwx  etc/cas -C target cas --exclude cas/META-INF
to create the tar archive in /tmp/cassrv-files.tgz. The --owner, --group, and --mode options ensure that the files will have the correct owner, group, and permission settings when extracted. Since we will be running the above commands many times as we add more functionality to the server, it makes sense to put the above commands into a shell script (called, for example, cassrv-tarball.sh) like this:
#!/bin/sh

cd /opt/workspace/cas-overlay-template

tar czf /tmp/cassrv-files.tgz --owner=root --group=tomcat --mode=g-w,o-rwx \
    etc/cas -C target cas --exclude cas/META-INF

echo ""

ls -asl /tmp/cassrv-files.tgz
exit 0
Create an installation shell script
Because web application auto-deployment has been disabled as part of Tomcat server hardening, Tomcat has to be restarted when the application is updated. And to ensure that no out-of-date artifacts are left behind when installing a new version of the application, it’s usually best to delete the old application directory rather than overwrite it. To make all this easier to do on multiple servers, all the commands can be collected into a shell script (called, for example, /opt/scripts/cassrv-install.sh) like this:
#!/bin/sh

echo "--- Installing on `hostname`"
umask 027

if [ -f /tmp/cassrv-files.tgz ]
then
    systemctl stop tomcat

    cd /
    rm -rf etc/cas/config
    tar xzf /tmp/cassrv-files.tgz etc/cas

    cd /opt/tomcat/latest/
    rm -rf webapps/cas work/Catalina/localhost/cas

    cd /opt/tomcat/latest/webapps
    tar xzf /tmp/cassrv-files.tgz cas

    systemctl start tomcat

    rm -f /tmp/cassrv-files.tgz /tmp/cassrv-install.sh
    echo "Installation complete."
else
    echo "Cannot find /tmp/cassrv-files.tgz; nothing installed."
    exit 1
fi

exit 0
This script will shut down Tomcat, delete the old contents of /etc/cas and extract a new set of files from the tar archive, delete the old copy of the application (and any associated runtime files) and extract a new copy from the tar archive, and then restart Tomcat.
Install and test on the master build server
Before distributing everything to the CAS servers, it should be tested on the master build server (casdev-master) to ensure that everything is working properly. To do this, run the installation script created above:
casdev-master# sh /opt/scripts/cassrv-install.sh
---Installing on casdev-master.newschool.edu
Installation complete.
casdev-master#
Review the contents of the Tomcat log file (/var/log/tomcat/catalina.yyyy-mm-dd.out) for errors. All log messages in a successful start should be at log level INFO. If any messages are at log level WARNING or SEVERE (except for the “acceptable” warnings described in the Test the tomcat installation section), then something is wrong and needs to be corrected.
There should be a line for the successful deployment of the ROOT web application, another for the successful deployment of the CAS web application, and finally a line for successful server startup:
DD-MMM-YYYY HH:MM:SS.sss INFO [localhost-startStop-1] org.apache.catalina.startup.HostConfig.deployDirectory Deployment of web application directory [/var/lib/tomcat/ROOT] has finished in N ms
...
DD-MMM-YYYY HH:MM:SS.sss INFO [localhost-startStop-1] org.apache.catalina.startup.HostConfig.deployDirectory Deployment of web application directory [/var/lib/tomcat/cas] has finished in N ms
...
DD-MMM-YYYY HH:MM:SS.sss INFO [main] org.apache.catalina.startup.Catalina.start Server startup in N ms
Then review the contents of the CAS log file (/var/log/cas/cas.log) for errors. For the most part everything should be at log level INFO, but there are a few WARN messages that will appear:
YYYY-MM-DD HH:MM:SS,sss WARN [org.apereo.cas.config.CasCoreTicketsConfiguration] - <Runtime memory is used as the persistence storage for retrieving and managing tickets. Tickets that are issued during runtime will be LOST upon container restarts. This MAY impact SSO functionality.>
YYYY-MM-DD HH:MM:SS,sss WARN [org.apereo.cas.config.support.authentication.AcceptUsersAuthenticationEventExecutionPlanConfiguration] - <>
YYYY-MM-DD HH:MM:SS,sss WARN [org.apereo.cas.config.support.authentication.AcceptUsersAuthenticationEventExecutionPlanConfiguration] - <

  ____    _____    ___    ____    _
 / ___|  |_   _|  / _ \  |  _ \  | |
 \___ \    | |   | | | | | |_) | | |
  ___) |   | |   | |_| | |  __/  |_|
 |____/    |_|    \___/  |_|     (_)


CAS is configured to accept a static list of credentials for authentication. While this is generally useful for demo purposes, it is STRONGLY recommended that you DISABLE this authentication method (by SETTING 'cas.authn.accept.users' to a blank value) and switch to a mode that is more suitable for production.>
YYYY-MM-DD HH:MM:SS,sss WARN [org.apereo.cas.config.support.authentication.AcceptUsersAuthenticationEventExecutionPlanConfiguration] - <>
YYYY-MM-DD HH:MM:SS,sss WARN [org.apereo.cas.config.CasCoreServicesConfiguration] - <Runtime memory is used as the persistence storage for retrieving and persisting service definitions. Changes that are made to service definitions during runtime WILL be LOST upon container restarts.>
These are to be expected (and will be addressed in later steps of the deployment). If there are any other warnings or errors however, they should be corrected before proceeding.
Once everything has started, open up a web browser and enter the URL of the CAS application on the master build server:
https://casdev-master.newschool.edu:8443/cas/login
Expect the browser to complain about the TLS/SSL certificate because the host name of the server (casdev-master.newschool.edu) does not match the name in the certificate (casdev.newschool.edu). Click through the prompts to visit the site anyway, and you should be presented with a login page that looks something like this:
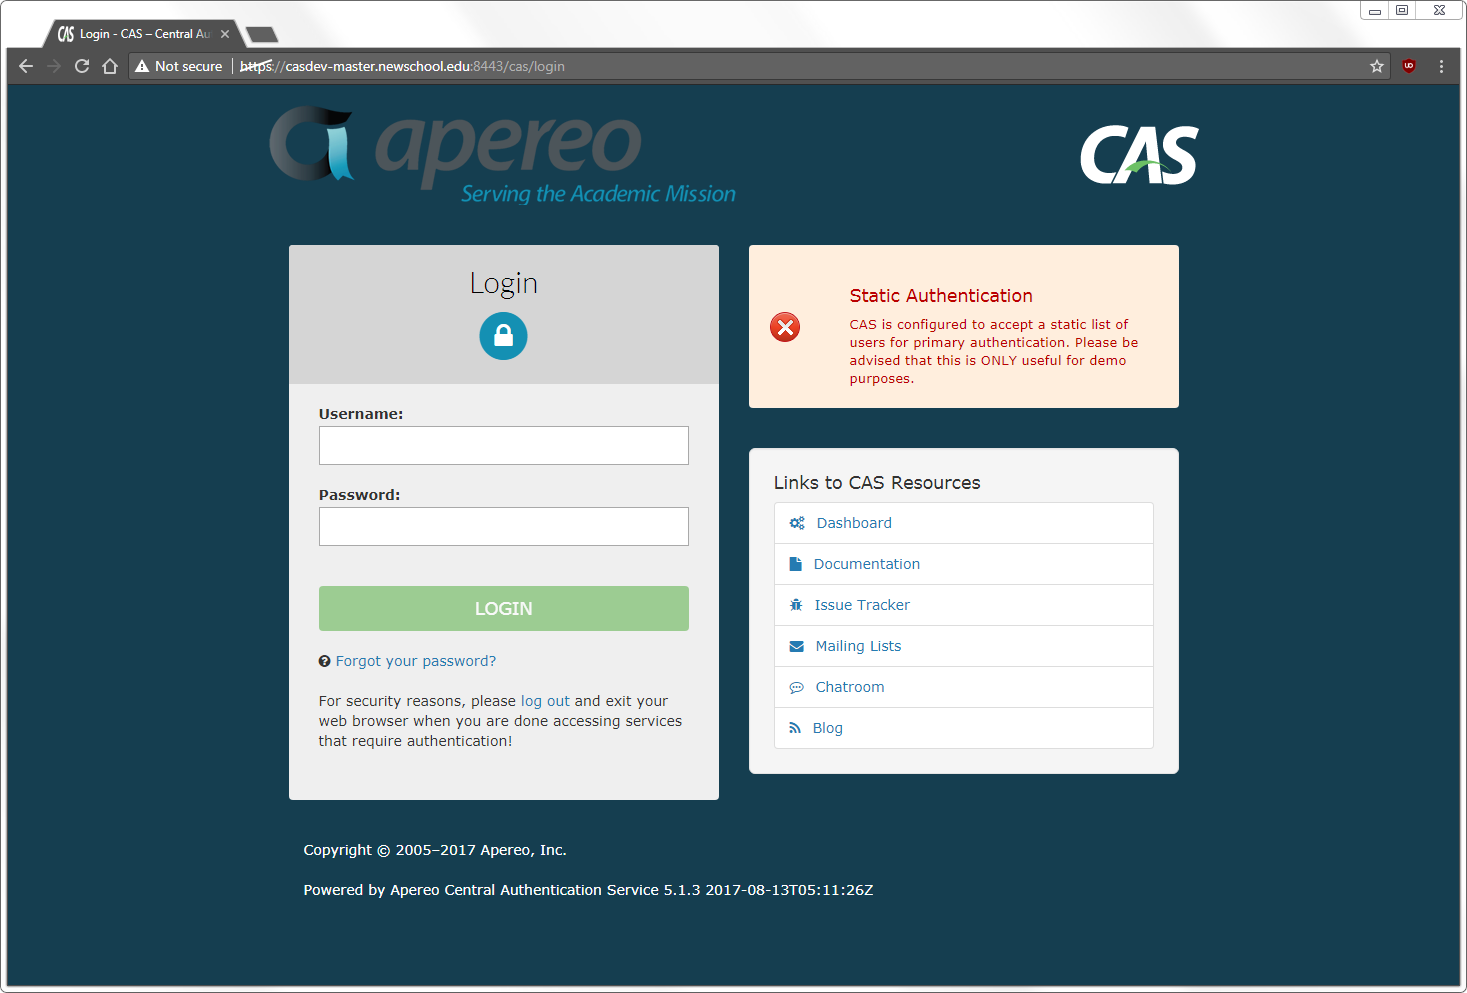
Since we have not configured the server with any authentication sources (yet), it comes with a set of built-in credentials for demonstration purposes. Log in using the username casuser and the password Mellon and you should then see a “successful login” page something like this:
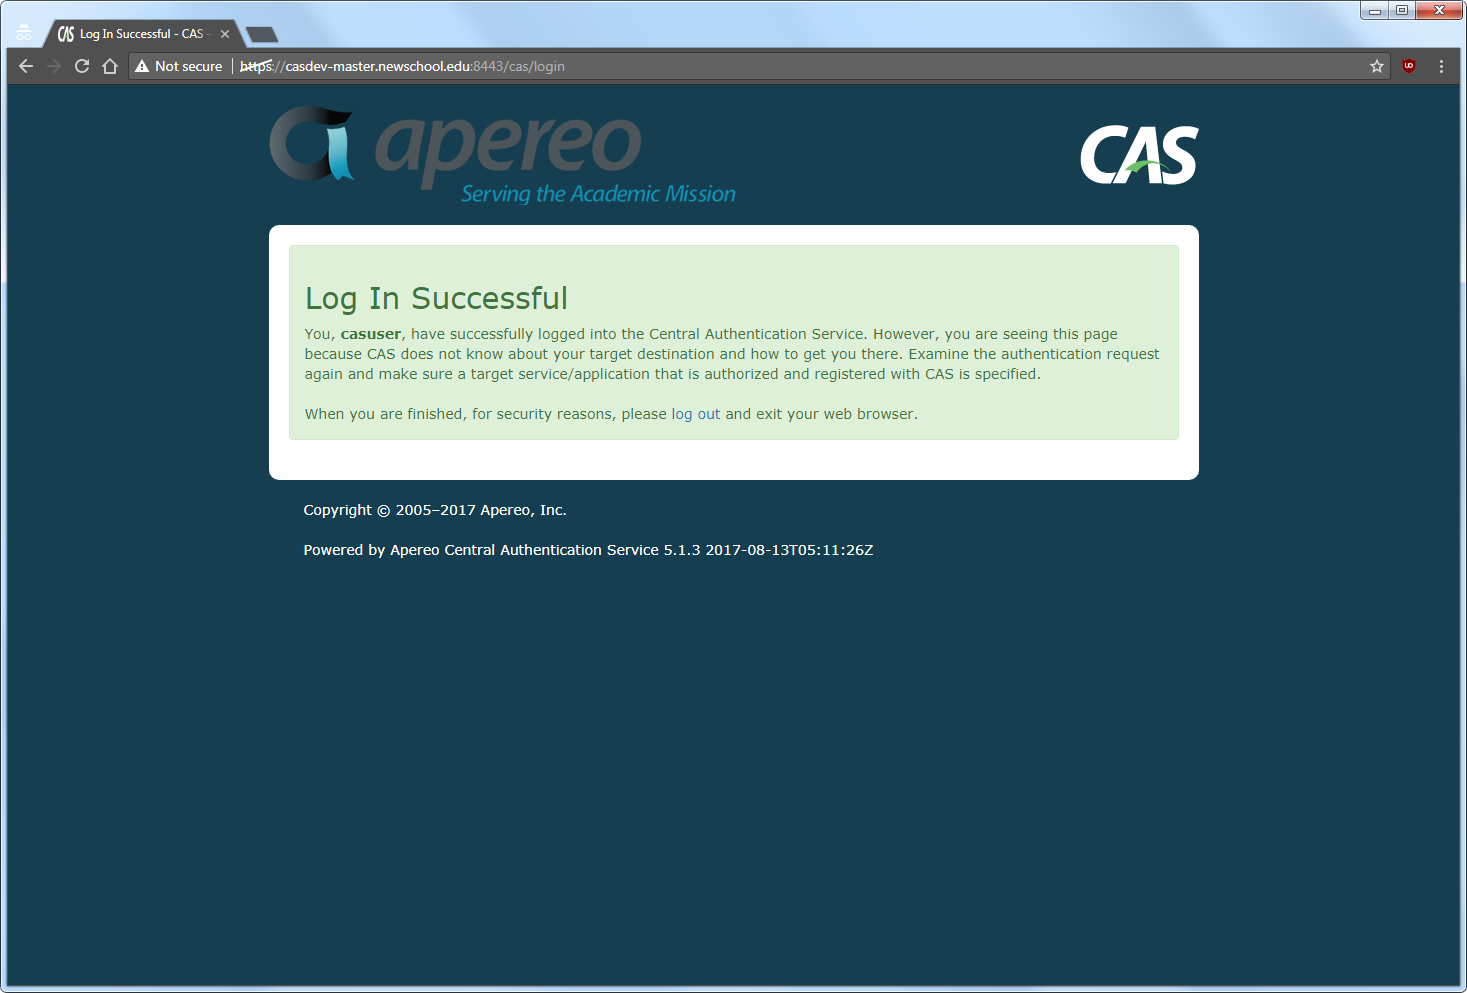
If this isn’t what displays, check the various log files in /var/log/tomcat and /var/log/cas for errors.
Install and test on the CAS servers
Once CAS is running correctly on the master build server, it can be copied to the CAS servers using the tar archive and installation script created above. This can be done manually, or with a shell loop as shown below:
casdev-master# sh /opt/scripts/cassrv-tarball.sh
casdev-master# for host in srv01 srv02 srv03
> do
> scp -p /tmp/cassrv-files.tgz casdev-${host}:/tmp/cassrv-files.tgz
> scp -p /opt/scripts/cassrv-install.sh casdev-${host}:/tmp/cassrv-install.sh
> ssh casdev-${host} sh /tmp/cassrv-install.sh
> done
casdev-master#
Once all the servers have been updated, open up a web browser and enter the URL assigned to the load balancer’s virtual interface:
https://casdev.newschool.edu/cas/login
Verify that the login page appears, and then enter the username and password (casuser / Mellon) and confirm that everything is working as it did on the master build server.
Define a CAS-specific service monitor on the load balancers
In Configure the load balancers, we defined a monitor for the server pool that connects to each server via HTTPS on port 8443 every 5 seconds and issues a GET / HTTP request. While this is sufficient to check whether or not the server itself is up and Tomcat is running, it’s not sufficient to check that the CAS web application is running. To do this, define a new monitor that issues a GET /cas/login request and checks for Login - CAS (part of the text on the login page) to be returned instead:
ltm monitor https /Common/casdev_https_8443_monitor {
    adaptive disabled
    cipherlist DEFAULT:+SHA:+3DES:+kEDH
    compatibility enabled
    defaults-from /Common/https
    description "Cas Dev Application HTTPS Monitor"
    destination *:8443
    interval 5
    is-dscp 0
    recv "Login - CAS"
    recv-disable none
    send "GET /cas/login\\r\\n"
    time-until-up 0
    timeout 16
}
And modify the pool definition to use that monitor instead:
ltm pool /Common/casdev_pool {
    description "CAS Development 8443 Pool"
    members {
        /Common/casdev-srv01:8443 {
            address 192.168.100.101
        }
        /Common/casdev-srv02:8443 {
            address 192.168.100.102
        }
        /Common/casdev-srv03:8443 {
            address 192.168.100.103
        }
    }
    monitor /Common/casdev_https_8443_monitor
}